
So, I have awesome parents who are big fans of my cooking and of my new blog. Tell me this bamboo cutting board with my blog name isn’t the most creative gift…my Mom had this made for me for Mother’s Day!!!!

I guess you can say a lot of people are enjoying this new cooking experience…the tasting part at least ha ha!! 🙂 So last recipe I had a lot of firsts, not to be outdone this one was full of them too! Now I have cooked with 5 sticks of butter…yes 5! I almost couldn’t take it but of course no one is eating all 14 of the buns so…moderation…as I always say. If you would like the recipe, and I think you will, check out our host blogs this time around: Lynn and Nicole.
I actually really enjoyed making the sticky buns (Pecan Sticky Buns minus the pecans)…totally new experience. I have never made brioche dough or started with a sponge. I felt like the whole time I was making these buns I wasn’t quite sure if I was on track. Since I had no experience with this kind of dough it seemed a lot like, “well I am reading the recipe and following it so I hope they turn out!” I made the sponge and then used my kitchen aid mixer to kneed the dough. I was worried since people had posted this could burn out the mixers since you work the dough for 15 min but I double checked with my owner’s manual and set it at the correct level and my mixer performed beautifully!!


Now that the dough was prepared onto the first rise…and the second…


Now this next step I thought was the strangest part of the whole thing…I wonder if anyone else had dough do this…I am assuming it was suppose to but after the overnight rise in the fridge, when I took out half of the dough to roll out…the dough was like a sponge inside…had to take a picture…I have never seen anything like this..although never made this dough either ha ha!
 I proceeded like this was how the dough was suppose to look but I had my doubts…


I now had my roll all prepared. I chose to freeze both of the rolls until I was ready to bake. The day I was going to bake, I took one of the rolls out of the freezer and let it sit on the counter to thaw for about an hour and half. I prepared the pan…which you just have to see to understand!!!….


Yes, that was one whole stick of butter smeared on the bottom of the pan…unbelievable! I cut the roll into the seven buns and let them rise for the final time. It is suppose to take about 2 hours but mine took 4…I think since they had started out frozen. I just waited until they came together…patience!


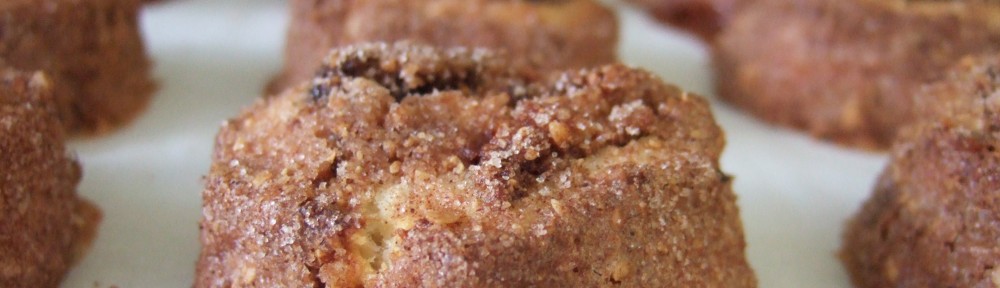
Seriously…these buns were AMAZING!… a lot of work and a lot of time, but at least in the end… amazing! I am the type of person that does not eat many decadent desserts but this one was right up my alley! I would never eat two, but the one was delicious and absolutely a keeper!!!


